

 ホーム
ホーム ブログ
ブログ アクセス
アクセス3Dプリントアトリエ
| << Kitchen taps キッチン用水栓 2021-01-29 | Kitchen cooktops 埋め込みIHコンロ >> 2021-02-01 |
35年前の建築仕方がおかしい。冬寒い阿蘇なのに、なぜか断熱材や暖房は上手に使っていないでしょう?この家にはエアコンも暖房もないです。周りが林いっぱいありますので夏にはそんなに問題にないんですが、冬には確かに寒い。夜中には毎日-3°~-5°ぐらいまで下がります。
過去にもエアコンの取り付けが何回もしましたので、この家には中古エアコンをインターネットで購入して、自分で付けます。
Japanese house-building techniques from the 1980s were pretty crap, when it comes to heating and insulation. Although this house does have some insulation (rock wool in the walls), I'm planning to add to it where possible. Despite Aso being a cold area in winter (temperatures regularly reach -5C every night), not even a single window is double glazed! Yikes!
I've done many air-conditioner fittings and removals over the years, and it's nothing to be afraid of. It can save you quite a bit of money doing it yourself, and I plan to save more by buying a used aircon unit on the internet.
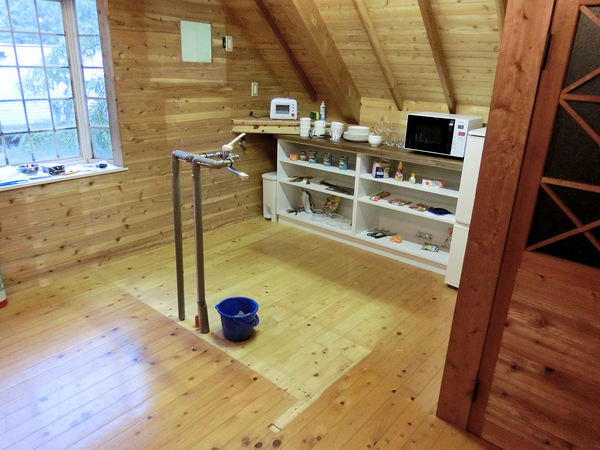
▲ 窓の上に取り付けますが、その前にコンセントの移動も必要です。窓の横に前の換気扇の穴がまだありますので、同時に作業行います。
There are no existing aircon holes in this house, so I'll be placing this airconditioner above the kitchen window, where it can also blow air into the living room. This also means I'll need to move the power socket a couple of meters, so I'll also take the opportunity to cover over the green foam in the hole left by the previous extractor fan.
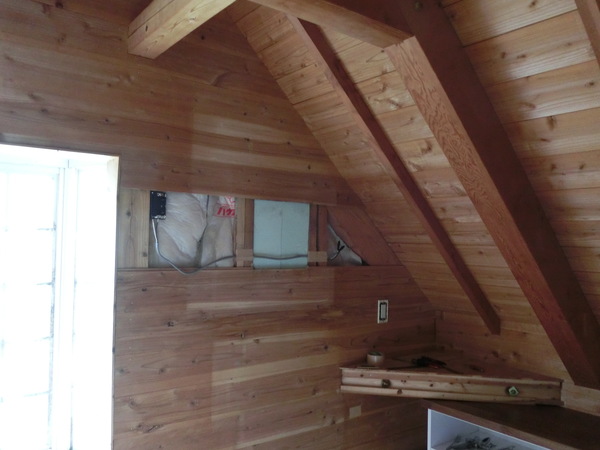
▲ まずは壁の板を外します。そして、前のところから電気配線を窓まで延長します。作業が簡単ですが、もちろんブレーカーをOFFのままでしますね。
First of all I levered off a couple of planks from the wall (these walls do make renovations easier!), and extended the power cable to the new location. It goes without saying, you should do this with the power to the building turned off at the breaker box. While I was doing this, I could also check the location of the upright joists inside the wall, to help me decide where to put the hole for the aircon.
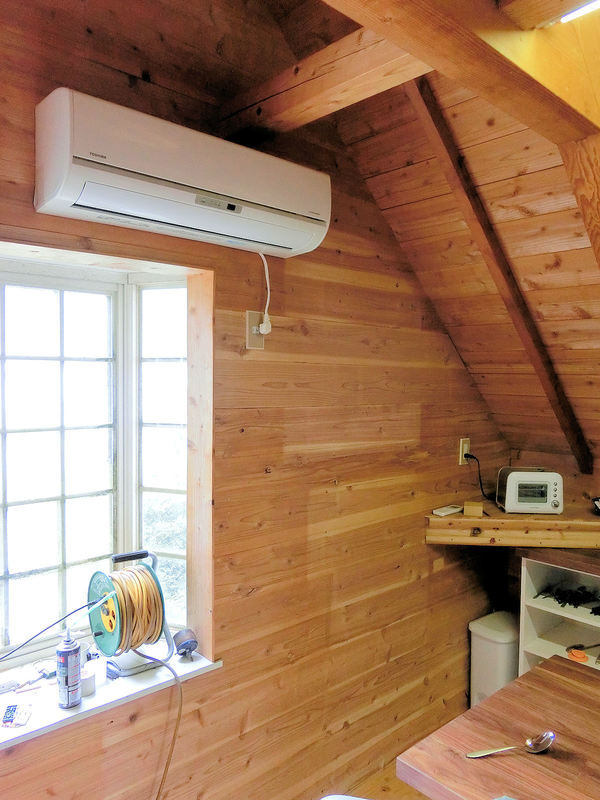
▲ 板を外している間に壁内の位置をチェックします。壁板を付けたらエアコンの取り付け鉄板を図って、穴をドリルで開けます。最後に新品のエアコンパイプを通す。
Airconditioners require two copper pipes for shunting heat/cool back and forth to the fan unit outside, and one more plastic pipe for water drainage (from condensation). Oh, and a 3-core electrical power cable from the local DIY store. The hole required is usually 60mm in diameter, and it's easy enough to drill this out and then slide in a plastic collar and run the pipes through.
▲ 室内機とパイプをつなぎます。大きいシフターレンチ2個があれば十分ですが、室内機を持てる方があれば助かります。Euan、ありがとうね!室外機もシフターレンチとドライバーだけでつなぐことができます。
完成!
この中古エアコンがYahooオークションの店(個人じゃない)から買いました。暖房の時は5kWですので、100Vのシステムには一番強い方です。送料込みで約5万円ほどでしたが、その上に新品のパイプ、外用カバーやテープなども1万円ぐらいで買った。結構節約できたと思う!
Next you'll need to strip the ends of the cable and push those in to the wiring holes, then connect up the pipes. To do that, 2 large shifter-wrenches work fine, although it also helps to have a second person (thanks, Euan!) to hold up the wall unit until you can hang it on the backing plate.
Outside, connect up the cable and 2 metal pipes to the fan unit, and wrap your pipes to protect from the wind and rain. I also added some plastic tube covers to fix it firmly to the wall for extra protection. All done! Honestly, you don't need to be intimidated by doing this yourself - the "professionals" will insist it's a job for specialists, but it's really pretty easy if you have an afternoon to spare.
I bought this used aircon (maybe 4~5 years old) from a store on Yahoo Auctions in Japan, and had it shipped here for about $500 all in - which is a BIG saving on buying new. The equivalent unit new would probably cost $1500 and up. In addition to that I had to spend another $100 on new pipes, tape, and the plastic covers. It manages 5kW when heating, which is about the highest available for a 100V aircon unit. Beyond that, you'll need a 200V system for more powerful units.
| << Kitchen taps キッチン用水栓 2021-01-29 | Kitchen cooktops 埋め込みIHコンロ >> 2021-02-01 |
〒869-2226 熊本県阿蘇市乙姫2070-48
営業時間:13:00~17:00*
営業日:毎週金曜日・土曜日
(* ご来店前にお電話をお勧めします 090-1349-4029)


")
阿蘇山の3D地図テーブルを作ってみた! I made a 3D MAP table!
3D阿蘇カルデラはいかがですか? 3D Maps added to the shop
Painted models available 塗装済の模型発売中!
Making garage doors ガレージの扉DIY作成
New side-project... a hobbit house! ホビットの家
Shops added to the shop ショップにお店
Repainting a (mini) car ミニカーのリペイント
Buying land in Otohime 乙姫で土地探し
Scale model of the Inaba Residence 稲葉家下屋敷の模型
Customer request - Pokemon Ball! ポケモンボール
Garage construction ガレージ工事 PART 6
Secret Aso-volcano pool 阿蘇山の隠れプール
Garage construction ガレージ工事 PART 5
Garage construction ガレージ工事 PART 4
Garage construction ガレージ工事 PART 3
Garage construction ガレージ工事 PART 2
Garage construction ガレージ工事 PART 1
Making a capiz shell wall light カピス貝殻壁掛けライト
Making a rustic antique-style wall light アンティークなライト作成
Making a capiz shell chandelier カピス貝殻シャンデリア
Online store opening sale グランドオープンの割引
Opening a webstore 通信販売サイトを開店します!
A lucky escape with the typhoon! 台風がヤバいけどラッキー!
E-bike conversion DIYで電動自転車を作った!
$200 Underfloor heating 2万円でDIY床暖房
3D-printed OPEN/ CLOSED sign アトリエ看板作成


 神社
神社 寺
寺 茶屋
茶屋 城
城 店
店 家
家 農場
農場 建物その他
建物その他 壁・柵
壁・柵 橋
橋 池
池 LEDライト